Mastering Precision: The Essential Guide to How to Measure Baking Ingredients (Article 2)
Welcome back to our series on the art and science of baking! In our previous article, we delved into the fundamental importance of accurate measurements in baking, laying the groundwork for why precision is paramount. Now, in "How to Measure Baking Ingredients - Article 2," we're rolling up our sleeves and diving deep into the practical techniques and essential tools you need to master this critical skill. From perfecting your flour measurements to understanding the power of a kitchen scale, we'll equip you with the knowledge to ensure your bakes are consistently delicious. Getting your measurements right is not just a recommendation; it's the bedrock of successful baking. It's the difference between a perfectly risen cake and a dense brick, a chewy cookie and a crumbly mess. Understanding *how to measure baking ingredients* correctly transforms you from a hopeful home baker into a confident culinary artist. Let's explore the methods that will elevate your baking game.The Essential Tools for Precise Measurement
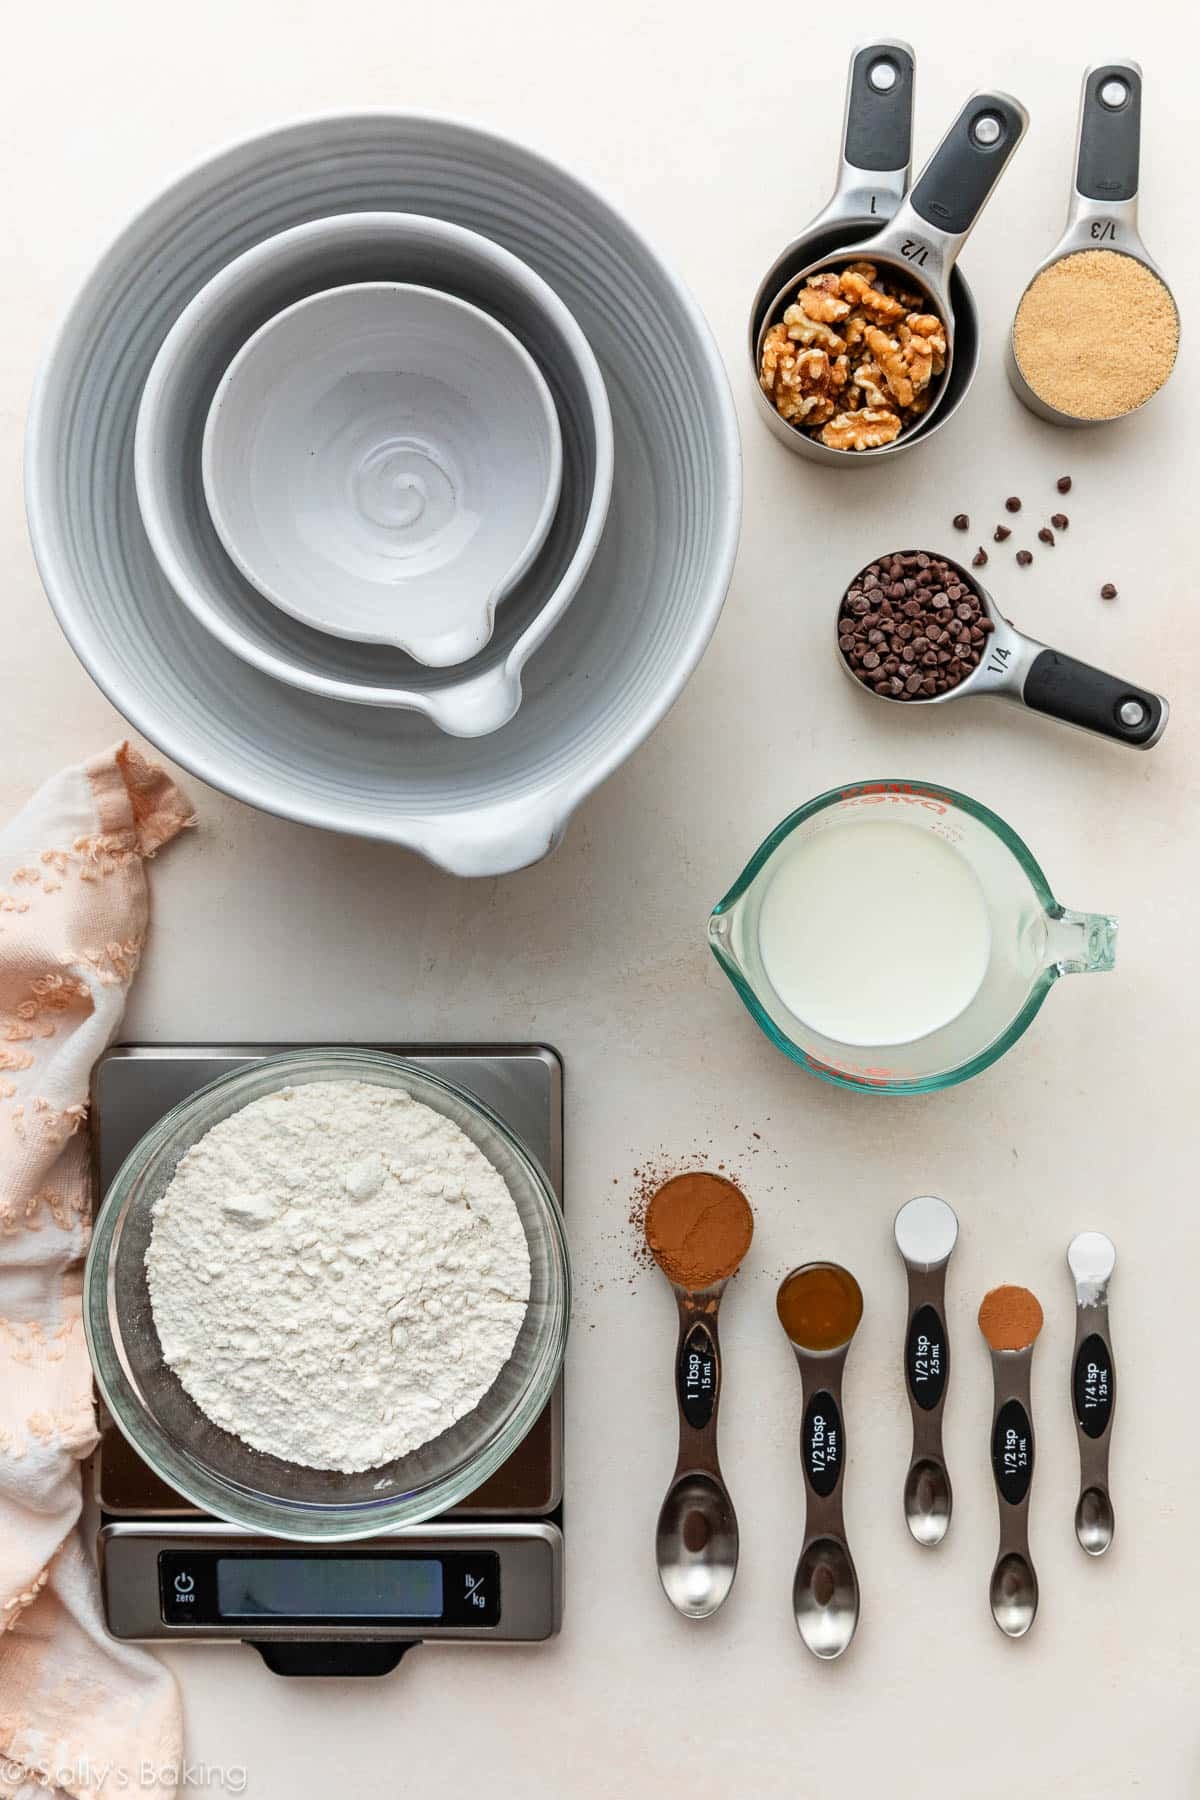
Before we even think about scooping or pouring, let's talk about the arsenal of tools every serious baker needs. Having the right equipment is the first step in mastering how to measure baking ingredients.Dry Measuring Cups
These are typically sold in sets and are designed for dry ingredients like flour, sugar, and cocoa powder. They come in standard sizes such as 1 cup, 1/2 cup, 1/3 cup, and 1/4 cup. The key feature of a dry measuring cup is its ability to be leveled off precisely, ensuring an exact volume.
- Tip: Always use dry measuring cups for dry ingredients. Their design prevents over-packing and allows for accurate leveling.
Liquid Measuring Cups
Unlike their dry counterparts, liquid measuring cups are usually clear, made of glass or plastic, and have a spout for easy pouring. They often feature measurement markings on the side, allowing you to read the volume at eye level. Common sizes include 1 cup, 2 cup, and 4 cup (or quart) capacities.
- Fact: The meniscus (the curve in the surface of a liquid) is crucial for accurate liquid measurement. Always read the measurement from the bottom of the meniscus at eye level.
Measuring Spoons
Used for smaller quantities of both dry and liquid ingredients, measuring spoons are indispensable. They typically come in sets including 1 tablespoon, 1 teaspoon, 1/2 teaspoon, 1/4 teaspoon, and sometimes 1/8 teaspoon. Just like dry measuring cups, they are designed to be leveled for precise results.
- Actionable Advice: For very small amounts of sticky liquids like honey or syrup, lightly coat the spoon with cooking spray or oil before measuring to help the ingredient release easily.
Digital Kitchen Scale
While often overlooked by beginner bakers, a digital kitchen scale is arguably the most important tool for precision. It measures ingredients by weight (grams or ounces) rather than volume. Because different ingredients have different densities, measuring by weight provides a far more accurate and consistent result, especially for flour. This is particularly vital when learning *how to measure baking ingredients* for professional-level results.
- Why it matters: A cup of flour can vary significantly in weight depending on how it's scooped and packed. Measuring by weight eliminates this variability.
Mastering Dry Ingredient Measurement: The "Fluff, Scoop, Level" Method
This method is the gold standard for measuring most dry ingredients and is fundamental to understanding how to measure baking ingredients accurately.Flour and Other Powders (e.g., Cocoa Powder, Powdered Sugar)
Flour is notorious for being mismeasured due to its tendency to compact. Here's the correct technique:
- Fluff: Gently aerate the flour in its container using a fork or spoon. This lightens it and prevents compaction.
- Spoon: Lightly spoon the fluffed flour into your dry measuring cup until it's overflowing. Do not pack it down or tap the cup.
- Level: Use the straight edge of a knife or an offset spatula to level off the excess flour, sweeping it across the top of the cup.
- Common Mistake to Avoid: Never scoop flour directly from the bag with your measuring cup. This compacts the flour, adding up to 25% more flour than intended, leading to dense, dry baked goods.
Granulated Sugar
Granulated sugar (white sugar) is less prone to compaction than flour, making it simpler to measure:
- Scoop: Simply scoop the granulated sugar directly into your dry measuring cup.
- Level: Use the straight edge of a knife or spatula to level off the top.
Brown Sugar
Brown sugar requires a different approach due to its moist, clumpy texture:
- Pack: Pack the brown sugar firmly into your dry measuring cup using your fingers or the back of a spoon.
- Level: Once packed, level off the top with a straight edge.
- Visual Cue: When turned out, correctly measured brown sugar should hold the shape of the measuring cup.
Small Dry Ingredients (Baking Powder, Baking Soda, Spices)
For these ingredients, use measuring spoons:
- Spoon: Use the appropriate measuring spoon to scoop the ingredient.
- Level: Level off the spoon with a straight edge. For very precise measurements, avoid tapping the spoon, as this can compact the powder.
Accurate Liquid Ingredient Measurement: Eye Level and Beyond
Measuring liquids seems straightforward, but there are nuances to ensure accuracy.Using Clear Liquid Measuring Cups
- Place on a Level Surface: Always place your liquid measuring cup on a flat, level countertop. Don't hold it up in the air.
- Pour: Pour the liquid into the cup.
- Eye Level: Bend down so your eyes are level with the desired measurement mark. Read the bottom of the meniscus (the slight curve in the liquid's surface).
- Example: When measuring milk or water, the bottom of the curved surface should align with the line.
Measuring Small Amounts of Liquids (Extracts, Oils)
For smaller quantities, use measuring spoons. If measuring a sticky liquid like honey or molasses, as mentioned before, lightly oiling the spoon can make a world of difference. For extremely precise amounts, especially in delicate recipes, a scale might still be preferred, or specialized droppers.
- Fact: While a tablespoon is a volume measurement, it's often more accurate for extracts to measure by volume due to their potency, rather than by weight, unless specified otherwise in a recipe.
The Undisputed Champion: Why a Digital Kitchen Scale is Your Best Friend
If you're serious about taking your baking to the next level, understanding *how to measure baking ingredients* by weight is non-negotiable. For those serious about perfecting their craft and truly understanding the nuances of advanced ingredient handling, a digital scale is indispensable.Why Weight Matters More Than Volume
Measuring by weight (grams, ounces) provides unparalleled accuracy and consistency. Here's why:
- Density Differences: A cup of flour can weigh 4 ounces or 5 ounces, depending on how it's packed. A cup of sugar is much denser. Weight measurements eliminate this variability.
- Consistency: Every time you weigh 120 grams of flour, it's exactly 120 grams. This ensures your recipes turn out the same way, batch after batch.
- Less Mess: Often, you can weigh multiple ingredients into the same bowl, using the "tare" function, reducing cleanup.
- Professional Results: Professional bakers almost exclusively measure by weight for these reasons.
Using Your Digital Scale
- Place Bowl on Scale: Put your mixing bowl (or any container) on the scale.
- Tare Function: Press the "tare" or "zero" button. This resets the scale to zero, accounting for the weight of your container.
- Add Ingredient: Add your ingredient until the scale displays the desired weight.
- Repeat: For the next ingredient, press "tare" again to zero out the scale, then add the next ingredient.
- Actionable Advice: Always calibrate your scale periodically according to the manufacturer's instructions to ensure it remains accurate.
Common Measurement Mistakes and How to Avoid Them
Even with the right tools and techniques, missteps can happen. Being aware of these common errors is key to mastering how to measure baking ingredients.- Eyeballing: Never guess quantities, especially in baking. Even a slight deviation can throw off the delicate balance of a recipe.
- Not Leveling: Failing to properly level dry ingredients (or pack brown sugar) leads to incorrect amounts.
- Confusing Ounces: Remember, fluid ounces (volume) are different from weight ounces. A recipe calling for "8 ounces flour" means by weight, not a liquid measuring cup filled to the 8 fl oz mark.
- Measuring Cold, Solid Fats Incorrectly: Ingredients like butter or shortening should be at room temperature (unless specified) and measured accurately, often by weight or using pre-marked sticks. For cutting from a block, measure by displacement in a liquid cup or, better yet, weigh it.
- Using the Wrong Cup: Don't use a liquid measuring cup for dry ingredients, or vice-versa. They are designed differently for a reason.
