Elevating Your Bakes: Advanced Techniques for How to Measure Baking Ingredients
Baking is often described as a science, and like any scientific endeavor, precision is paramount. While you might have mastered the basics of using measuring cups and spoons for liquids and dry goods, and even delved into specific ingredient nuances, truly perfecting your craft requires an even deeper understanding of how to measure baking ingredients with uncompromising accuracy. This article, the third in our series, moves beyond foundational techniques to explore advanced strategies, tackle tricky ingredients, and understand the profound impact of even slight measurement discrepancies on your final product.
Whether you're aiming for consistent, bakery-quality results or troubleshooting persistent baking failures, refining your measurement approach is a game-changer. By embracing more precise methods and understanding the 'why' behind them, you'll unlock a new level of confidence and success in the kitchen. For a refresher on the fundamentals, you may wish to consult how to measure baking ingredients - Article 1, and for tips on common ingredient types, check out how to measure baking ingredients - Article 2.
Elevating Accuracy: The Case for Weight Measurement
For serious bakers, and indeed many professional kitchens, volumetric measurements (cups and spoons) are often considered a last resort. The gold standard for precision is gravimetric, or weight-based, measurement. Understanding this distinction is crucial for consistent and superior results.
Understanding the Discrepancy: Volume vs. Weight
Imagine a cup of flour. Depending on how it's handled – scooped directly from the bag, spooned gently, or sifted – its weight can vary significantly. A tightly packed cup of flour might weigh 150 grams, while a lightly spooned and leveled cup could be closer to 120 grams. This difference of 25% or more can drastically alter the hydration and gluten development of your dough or batter. Granulated sugar, while more consistent than flour, can still vary based on compaction. Liquids are generally more reliable volumetrically, but even here, parallax error (reading the meniscus from the wrong angle) can lead to slight inaccuracies.
- Flour: The most notorious culprit for volumetric inconsistency. The spoon-and-level method taught in how to measure baking ingredients - Article 1 aims to standardize this, but even then, environmental factors and technique can cause variations.
- Sugar: Granulated sugar is fairly consistent, but brown sugar, with its moist texture, is always packed for volumetric measurement. Weighing removes this ambiguity entirely.
- Sticky Ingredients: Honey, molasses, and syrups adhere to measuring cups, making full transfer difficult and leading to under-measurement.
Weight measurement, on the other hand, is absolute. A gram of flour is always a gram of flour, regardless of how fluffy or compact it is. This eliminates variables, making your recipes much more repeatable and reliable.
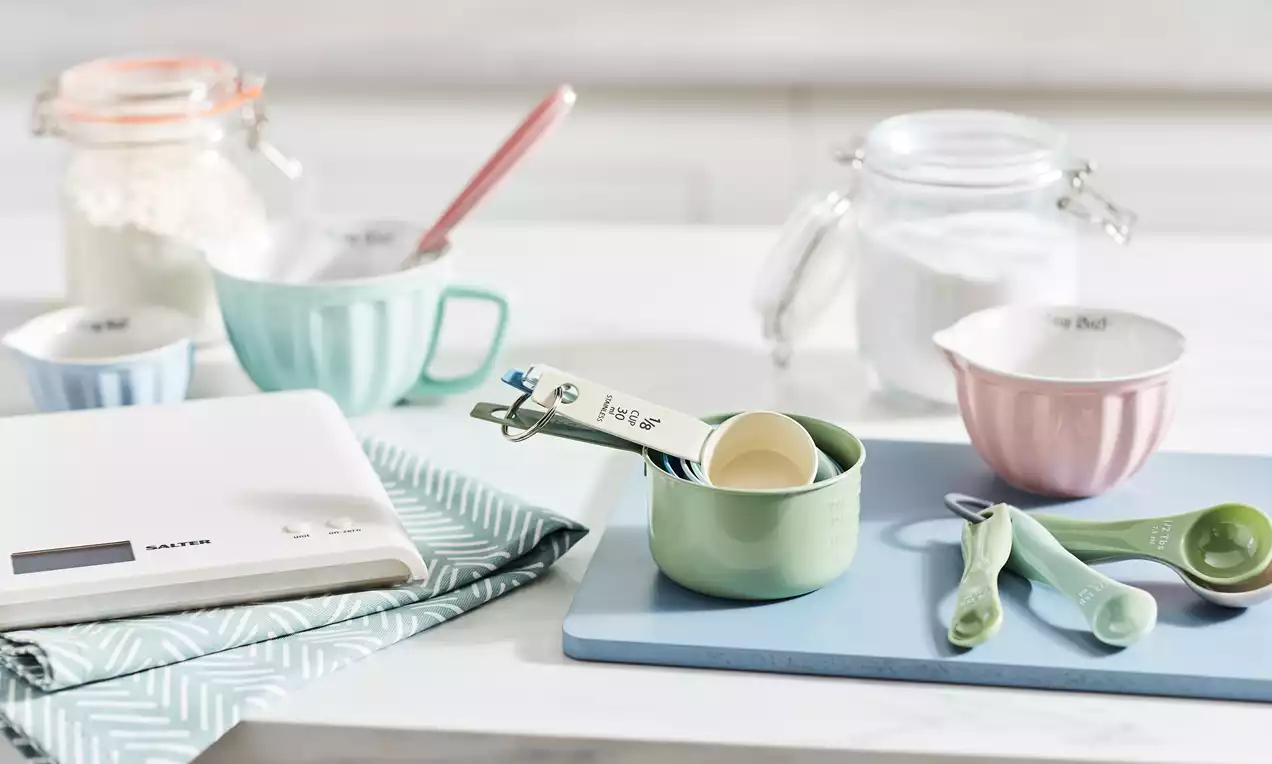
Making the Switch: Using Your Digital Kitchen Scale
Investing in a good digital kitchen scale is arguably the single most impactful step you can take to improve your baking accuracy. They are affordable, compact, and incredibly easy to use. Here's how to integrate one into your routine:
- Zero Out (Tare) Your Container: Place your mixing bowl or a separate container on the scale. Press the "tare" or "zero" button to reset the display to zero. This ensures you only measure the ingredient, not the container.
- Add Ingredients Directly: Pour or spoon your first ingredient directly into the tared bowl until the desired weight is reached.
- Tare for Each New Ingredient: If adding multiple ingredients to the same bowl (e.g., flour, then sugar, then salt), press the "tare" button after each ingredient to zero out the scale before adding the next. This allows for a "build-as-you-go" method that minimizes dirty dishes.
- Always Use Grams (Metric): While many scales offer both imperial (ounces) and metric (grams), grams provide finer precision (e.g., 28.35g in an ounce vs. 1g). Most professional recipes and high-quality online resources will provide gram measurements.
The beauty of a digital scale is its consistency. Once you've accurately weighed your ingredients, you can be confident that the ratios are correct, allowing you to focus on technique and timing.
Tackling Tenacious Ingredients: Advanced Measurement Tips
While a scale handles most ingredients with ease, some unique challenges remain. Knowing how to measure baking ingredients that are particularly sticky, semi-solid, or potent in small quantities requires specific approaches.
Sticky & Gooey: Honey, Molasses, and Syrups
These viscous liquids notoriously cling to measuring cups and spoons, leading to under-measurement and waste. Here are some pro tips:
- Grease the Measuring Tool: Lightly coat your measuring cup or spoon with a neutral cooking spray or a thin layer of oil before adding the sticky ingredient. It will slide out much more easily.
- Warm It Up Slightly: Gently warming honey or molasses in the microwave for a few seconds (don't overheat!) can reduce its viscosity, making it pour more freely.
- Use a Spatula: Always use a rubber spatula to scrape out every last bit from the measuring tool.
- Weigh When Possible: For ultimate accuracy and ease, weighing these ingredients directly into your mixing bowl is the best method.
Fats Beyond the Stick: Shortening, Nut Butters, and Oils
While stick butter often comes with convenient measurements, other fats require more attention:
- Solid Shortening/Coconut Oil: If not weighing, the water displacement method (for volumetric measurement) is excellent. Fill a liquid measuring cup with water to a certain mark (e.g., 1/2 cup for 1 cup total). Add the solid fat until the water level rises to the desired total volume (e.g., 1 1/2 cups for 1 cup of fat). The difference in water volume equals the fat volume.
- Nut Butters (Peanut Butter, Almond Butter): Pack them firmly into dry measuring cups and level with a straight edge, just like brown sugar. Again, weighing is more accurate.
- Liquid Oils: Use a clear liquid measuring cup, placing it on a flat surface and checking the measurement at eye level to avoid parallax error.
Potent Powders: Leaveners, Spices, and Concentrates
Small amounts of powerful ingredients demand meticulous measurement:
- Baking Soda/Powder, Yeast: Use accurately sized measuring spoons. Do not scoop directly from the container as this can compact the powder. Instead, spoon the ingredient into the measuring spoon and level it off with a straight edge (like the back of a knife or a bench scraper). Even a slight excess or deficit can dramatically affect rise.
- Spices & Extracts: For fractions of a teaspoon, use miniature measuring spoons or "pinch" spoons designed for very small quantities. Always measure extracts over a separate small bowl or container, not directly over your main mix, in case of an accidental spill.
Paying close attention to these smaller, yet critical, measurements is key to unlocking complex flavors and perfect textures.
The Ripple Effect: How Inaccurate Measurements Undermine Your Bakes
Understanding how to measure baking ingredients with precision isn't just about following rules; it's about understanding the delicate balance of a recipe. Even minor inaccuracies can throw off the entire chemical symphony of baking, leading to disappointing results.
The Science of Imbalance: What Goes Wrong
- Too Much Flour: The most common error when measuring volumetrically. Results in dry, dense, crumbly baked goods (e.g., tough cookies, dry cakes, heavy breads).
- Too Little Flour: Leads to a weaker structure, causing cakes to collapse, cookies to spread excessively, and breads to be too wet or sticky.
- Incorrect Leavening (Baking Soda/Powder/Yeast):
- Too much: Can create a metallic or soapy taste, cause excessive initial rise followed by collapse, and result in a coarse crumb.
- Too little: Leads to flat, dense, or heavy products with poor rise.
- Sugar Imbalance:
- Too much: Can make products excessively sweet, cause excessive browning, and lead to a crisp or brittle texture.
- Too little: Results in bland flavor, pale color, and a tougher, less tender texture.
- Fat Variations: Impacts tenderness, moisture, and spread. Too much fat can make a product greasy and crumbly, while too little can make it dry and tough.
Each ingredient plays a vital role, and altering its proportion, even slightly, can shift the entire outcome. This is why mastering how to measure baking ingredients is foundational to consistent success.
Common Measurement Pitfalls to Avoid
- Rushing the Process: Take your time. Baking is not meant to be rushed.
- Eyeballing It: Never guess a measurement, especially for critical ingredients like flour, leaveners, or fats.
- Ignoring Temperature: Ingredients like butter, eggs, and liquids are often specified at certain temperatures (e.g., room temperature) because temperature affects their volume and how they incorporate into a batter.
- Not Leveling Dry Ingredients Properly: Always use a straight edge for dry measuring cups and spoons.
- Parallax Error for Liquids: Always get down to eye level when measuring liquids in a clear cup.
- Using the Wrong Type of Measuring Cup: Dry ingredients in liquid cups and vice versa often lead to inaccuracies.
Conclusion
Mastering how to measure baking ingredients is an ongoing journey that evolves from basic techniques to the precision of weight measurement and beyond. By understanding the nuances of different ingredients, investing in the right tools like a digital kitchen scale, and being mindful of common pitfalls, you equip yourself with the knowledge to consistently achieve exceptional results. Remember, baking is a craft built on attention to detail. Every gram, every milliliter, and every leveled spoonful contributes to the symphony of flavors and textures you create. Embrace this precision, and you'll find your baking confidence and success soar.
